Sunday 29 December 2013

30 New Year's Beauty Resolutions To Consider


So, with the New Year approaching (or having been already approached), you may have been Facebook spammed about all the New Year changes your Facebook friends are going to make and never keep.

Perhaps you even reflected on your past New year's resolutions, and decided that making goals isn't your thing. Alas, a new year's resolution is a resolution no matter how small.

So here are a few beauty resolutions that may not be too hard to achieve, but still bring you a sense of accomplishment and good habit the next year round.

1) Wash off all makeup before going to bed (This was mine last year, and its not that hard with a few baby wipes at hand).

2) Stop biting your nails.

3) Stop using heat on your hair (My new year resolution!).

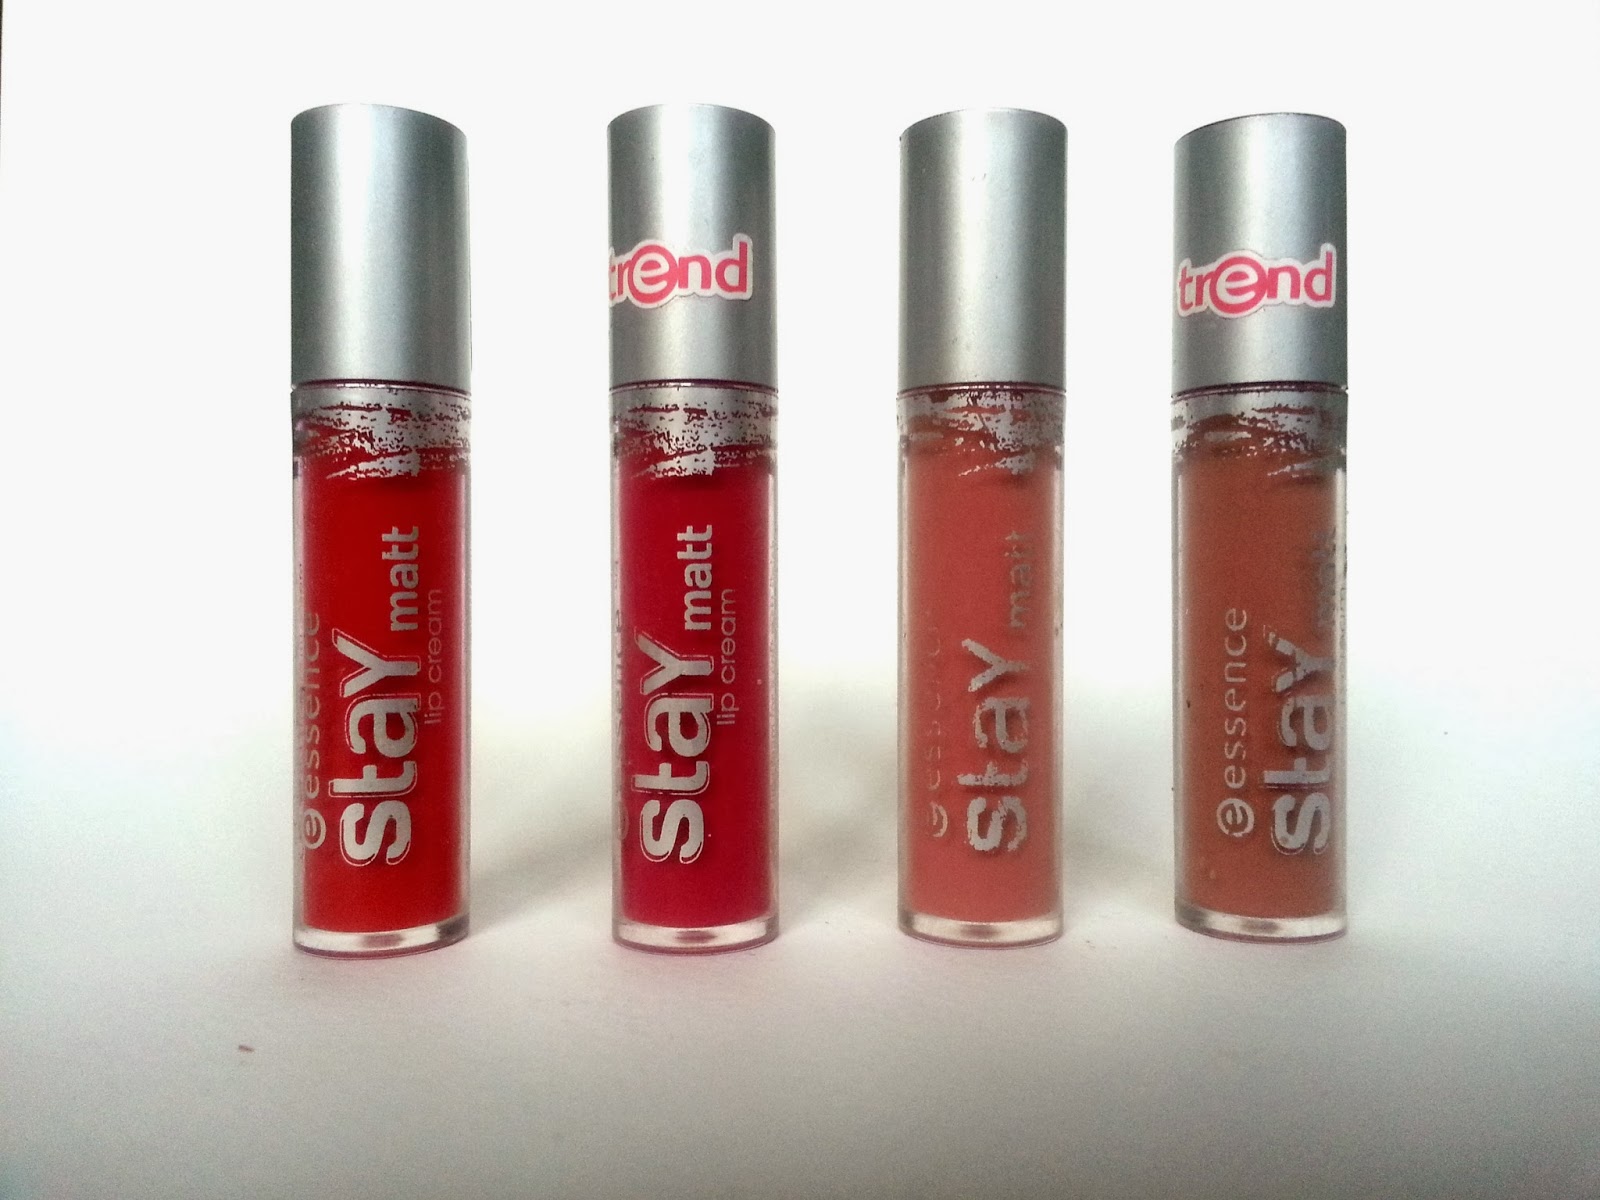
4) Stop buying crap just because its cheap.

5) Learn how to apply false eyelashes PROPERLY.

6) Stop using foundation. (switch out for BB cream)

7) Create a skincare routine and stick to it.

8) Get your eyebrows done professionally and maintain them.

9) Wear suns-cream. (But you're already doing it everyday, right?)

10) Make the necessary changes to grow healthy hair.

11) Stop perming/highlighting/damaging your hair.

12) Wear a hat. (Why not?)

13) Find your holy grail products.

14) Get a cool piercing.

15) Get a cool tattoo.

16) Wear your hair differently.

17) Make moisturizer your best friend (Vaseline is cheap but should not be used on your face).

18) Start using vegan products!! (meaning products that don't animal test, brushes with no animal hair)

19) Cut down on hair products.

20) Discover the beauty of good hairspray.

21) Do something crazy with your hair. (Seen those Tumblr/Insta girls with pale pink hair?)

22) Rock dark lipstick. (Black Lipstick for the adventurous)

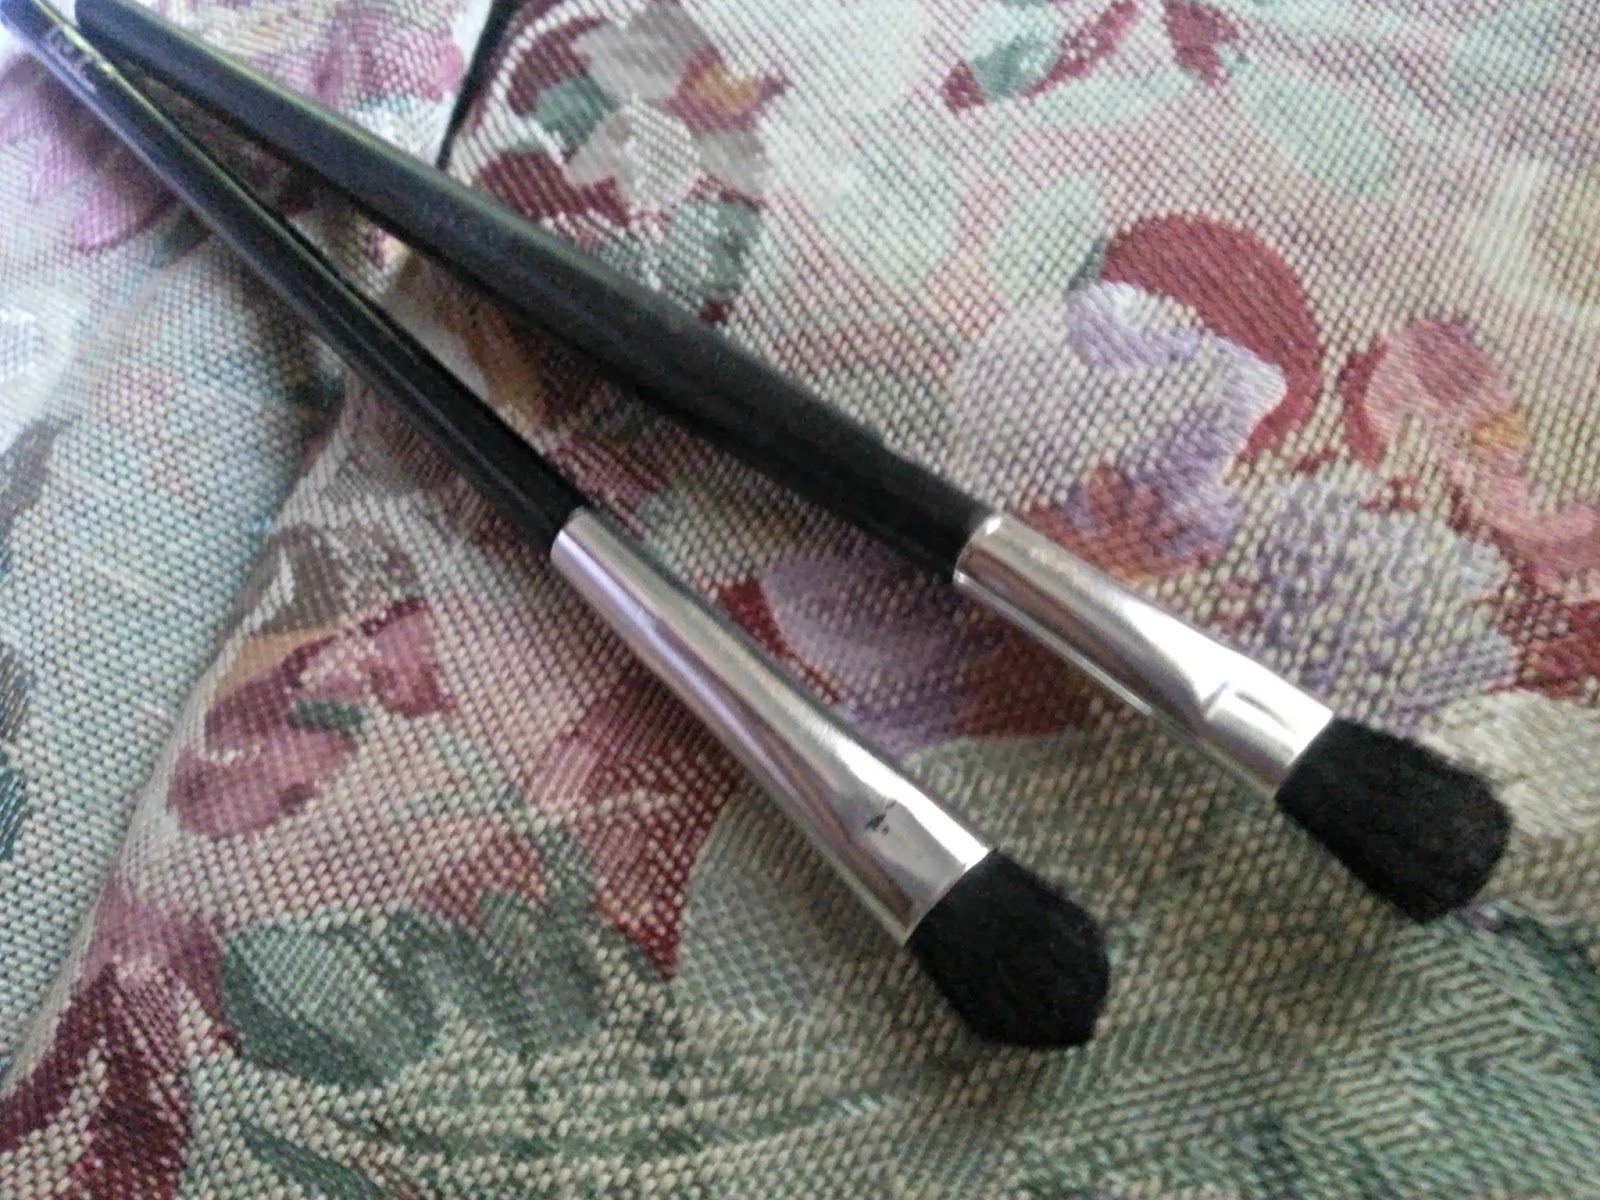
23) Clean your brushes regularly.

24) Get a pet fish named Martin and let him decide if your makeup is too sparkly.

25) Teach someone a makeup trick that they will use.

26) Learn a makeup trick and use it.

27) Throw away expired or useless products.

28) Learn how to read ingredients on makeup products (and what they mean).

29) Create the ultimate Halloween makeup look.

30) Wear makeup the way YOU like it. Not because someone told you.

Much more to come,

Vanity&Me

Thursday 19 December 2013

REVIEW- Essence STAY Matt Lip Cream


Colors in order: Silky Red, Smooth Berry, Velvet Rose and Soft Nude.


You will never guess how I got hooked on these lippies.

C'mon, try. GUESS.

THEY SMELL FANTASTIC.

I'm not naive when it comes to buying make-up, okay? I usually browse through reviews, raves and videos about a product before I buy it. But this lip cream was an exception. 

I bought it in Italy while I was in OVS, in the little classic Essence makeup stand. I smelt it, swatched it, and bought all the 4 available colors right away. 

And I haven't regretted it since.

It smells like vanilla and caramel combined. I just wanna eat it. And it helps that they were cheap.

Note: For those of you who live in Dar Es Salaam, these lip creams will be available at the Green Boutique (Slipway) in January 2014. Comment for directions or inquiries.


Lets get to it.


Colors in order: Silky Red, Smooth Berry, Velvet Rose and Soft Nude.

Pros:
1. The smell!
2. It's cheap
3. Its Semi-Matt. Meaning there is no shine/gloss to it, which is much more flattering than gloss.
4. The applicator does a good job.
5. The colors can be mixed together to create a unique color.
6. The pigmentation is amazing.
7. A little goes a long way.

Cons:
1. It is a bit hard to apply, as it is a cream. But once you get the hang of it, it will be perfect.
2. If you don't apply a primer beforehand or a lip gloss over it, the lippie dries on your lips. You will either need to re-apply or stop smacking your lips together (no kidding)


Colors in order: Silky Red, Smooth Berry, Velvet Rose and Soft Nude.

As you can see, the creams are super creamy. The pigmentation is amazing. All these colors can be mixed together to create other amazing colors.


Smooth Berry
 This is a universal pink shade for fun personalities. Pair with a neutral eye, and also does not require lip liner.


Silky Red
 Another universal color. This is perfect for a bold statement. Does not require lip liner.


Soft Nude
This is a darker nude, perfect for pairing a smokey eye or neutral eye for darker complexions.


My favorite of all, Velvet Rose.
This is a light pink barbie color, that is great for light skin tones to pair with a dramatic eye. If you are fair skinned, I highly recommend this.


Much more to come,

Vanity&Me

Saturday 14 December 2013

Make Your OWN Powder Foundation (With Stuff You Can Find In Your Kitchen)


Hey DIYer's

The other day I was surfing the world wide web, when I came across a recipe for making your own powder foundation with stuff that can be found in your kitchen. And let me tell you, I was SKEPTICAL.

Not only does it sound a bit too easy to make something that brands sell for a lot of cash, but since I live in a country where it is difficult to access some stuff, I thought it couldn't be done.

Firstly the recipe demanded arrowroot. Just like you right now, I was like "what the heck is this??"

Turns out its a powder form of a plant, or you could use cornflour/cornstarch as a substitute. It's the powder form of corn, BTW.

So I went to Shoppers supermarket and managed to get ALL the ingredients which was quite surprising.

The stuff I got is in the picture above, which is;
cornflour
cinnamon powder
cocoa powder
plastic container

The total, including the container, was below 10,000 tsh (about 7 USD)

This is an ALL natural recipe. No way to get an allergic reaction, super cheap and you can make bucket loads. Great gift idea if you put it into a pretty jar and put a ribbon over it. Very hipster.

(please disregard the baking powder in the photo, I think it just rolled in while I was snapping a picture)


Grab a bowl.


Put some cornflour in.


Add a teaspoon of cocoa powder and stir.


Tricky part: add cinnamon powder, stir. Add a little more, stir again. Do this until you get your shade of skin. If you go too dark, you add some more cornflour in. Or you could kill two birds with one stone and make some bronzer as well.


Put in into a plastic container and SHAKEEEE

You can clearly see my container was thoroughly shaken, not stirred.

(Ba-dum tsss)

This will prevent you from getting white cornflour patches on your skin :)


Grab a brush and apply;


Left: some BB cream (Garnier in light) on with store-bought powder on (essence anti-spot powder).
Right: BB cream and the cornflour concoction over it.

As you can see the DIY powder is very matte. Meaning that you will not look shiny or sweaty.
There IS a smell, but it's a chocolatey/cinammony smell.
The powder gets everywhere when you apply it, so make sure you don't have any nice clothes on during application. You can change when you're done doing your makeup.

FINAL VERDICT: I love the idea. However, because it is very messy, I wont apply it all the time. I will apply it when i'm feeling hippie or when I have blemishes.

Did I mention that this is PERFECT for people who have skin irritation/acne?

Much more to come, 

Vanity&Me

Tuesday 10 December 2013

ABC's Of Eye Brushes (Not in alphabetical order)


So you know those sponge topped mini eye shadow brushes you might find in some eye shadow palettes? The ones that you can even buy in an 8-pack? Still don't know what i'm talking about?

THIS


If you look closely, you can still see some eye shadow left over from last new years' gold eye shadow.
Please, if you can afford to buy some proper brushes, do so. Like NOW. Not only are these applicators really unhygienic, but this causes the application of eye-shadow to be really unnatural and blotchy.

So, about to go brush shopping? don't know what to get?

No worries, I gotchu guuuurrrl.


The Eyeliner Brushes:
Say hello to my favorite brush (right, Elf cosmetics). These two are both used for eyeliner. The one on the right is for drawing some sharpie-licious gel lines on your top lid. The brush on the left, flat and square, is for smudging black pencil liner for that smokey eye. Simply draw a rough line on your top or bottom lid, go over it with the flat brush, and BAM

--Smokalicious.


Eyebrow brush: 
So this might look like an angled liner brush (no it's not, and I don't like using them).
It's slightly fluffier than an angled brush, and a lot thicker. However, the angle is still there for filling in your brows. I use this brush everyday with some eyebrow powder (looks like brown eye-shadow.. could be brown eye-shadow). Using powder for your brows looks a lot more natural than pencil, so I really suggest switching in for this method.


Flat Angled Brushes:

These are the cheapest brushes you can get (aside from those pesky applicators).
the quality of these doesn't usually affect it's application so you can really go cheap on these. What I suggest is buying different sizes and experimenting on what is most comfortable for you.
To use these, you simply swipe it on a shadow pan and onto your eye lid. NOTICE: I said lid. Not crease. You then use another brush to blend the edges out. The purpose of this brush is to cover surface area. This could also double as your bottom lash shadow brush. Again, super versatile.


The Highlight Brushes:

Not your standard neon yellow highlighter, ladies.

These highlight brushes are used to apply a lighter shadow to the inner corner of your eye and underneath your eyebrows. Notice how the brush at the bottom is slightly angled at the center - perfect for your inner corner. Applying a lighter shade to these areas can lift the eyes, make eyes appear bigger and makes you look younger. 


The "Smokey" brush:

Probably the most important brush you need when crafting your smokey eye. You dip this brush into some shadow, and onto your crease. Since this brush is fluffy, you can use a "windscreen wiper motion" to apply it to your crease. This will surely give you that sultry smokey look. NOTICE: Try out different sizes. I've owned several different sizes, and I find the smaller ones (ie. the purple on the left) easier to use.


The Crease Brush:

When I discovered this brush, and started using it, I realized that all my makeup looks looked a lot more professional. How to use it?
Well lets say, you apply some dark shadow on your crease but cant seem to blend it out. Well have no fear, your favorite crease brush is here.
You dip this baby into some light brown shadow and use it as a transition color between your skin color and the dark shadow. It's so soft and fluffy, it'll blend all your shadows together. I promise.

So, are these all the brushes you need?

definitely NOT

There are thousandths of variations of these brushes, and everyone uses them for different purposes. These are the purposes I use them for, perhaps you could use as a starting point. Good-luck finding the brush in shining packaging,

Much more to come,

Vanity&Me

Monday 9 December 2013

Daytime Look Featuring. Naked Palette

NAKED PALETTE? WHAT IS THIS?

Only my all time favorite neutral makeup palette.

In case you've been living under a rock and haven't heard the hype about this golden chalice, it's a palette that Urban Decay released a while ago. At first i was all;
"I'm not spending 45 bucks on an eye-shadow palette. That would be so totally vain of me"
However, the screeching claws of this palette kept me awake at nights and kept reappearing in my dreams.
I'm joking, but you get the point.
So after a year I finally gave in and bought it.

And ERH MAH GAWD 


LOOK AT IT


JUST LOOK AT IT


THE VELVETY COVERED SOFTNESS

Ladies and gentlemen, this is how my makeup addiction began.
This is the official birth of Vanity&Me.

Now for a look I made with this palette:


Much more to come

Vanity&Me